
You may want to start with the article offering some context on this integration: Quick Primer on the Quickbooks & MarginEdge Integration
This article is for you if:
1) You are using QuickBooks Online*. (Here are instructions if you are using QuickBooks Desktop.).
2) You need to connect to QuickBooks Online to [me] for exporting your data.
3) You have access to the "Admin" login credentials for your QuickBooks company file. You will need Admin rights to set up the connection. Once it's set up, though, you will not need Admin rights to pull data over from ME.
*Please note that QuickBooks Simple Start DOES NOT support importing Bills (vendor invoices). You will need to upgrade your QuickBooks subscription to Essentials, Plus, or Advanced in order to export from MarginEdge.
*Also note that QuickBooks Essentials does not support the Classes or Locations features. If you plan on using those features you will need to upgrade your QuickBooks subscription to Plus or Advanced.
Step by step instructions are below or click here for a quick video tutorial!
Want more personalized support? We have a fabulous in-house professional services team who offer QuickBooks Set Up Support and other accounting services, find out more about our QuickBooks Set Up service here or schedule a free 15 minute consult to learn more.
Instructions
1. OK, first head over to MarginEdge, and click on Setup > Integrations on the navigation menu.
2. Under the "Accounting" section, click on the drop down menu and start typing to find "QuickBooks Online". Once selected, you can press the Connect to Accounting System button.
3. Next, click on the green "Connect to QuickBooks" button.
Note: If you don't see this green button, it's often due to a browser issue. You can try clearing your cache or simply switch to a new browser and start over there (i.e. if you were in Chrome, hop over to Edge or Firefox and try that.)
4. This will open a new tab in your browser where you will need to login to QuickBooks Online using the Admin login credentials in order to complete the setup.
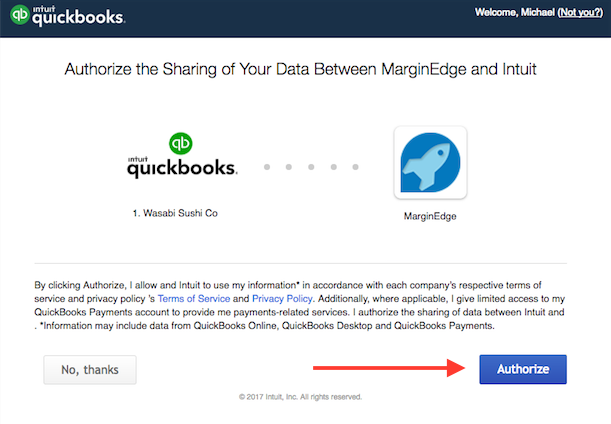
5. Once logged in to QuickBooks, if you have more than one company file, you will next have to select the company/location you are setting up.
6. Next, click the "Authorize" button to allow data to be shared between ME and QuickBooks.
7. Once the Authorization is complete, you can pat yourself on the back! Nice work.
Adjusting Your Settings
Now you can return to MarginEdge to select your setup options. These can be adjusted at any time.
We default you to the manual option, and recommend you start out this way until you get comfortable with the flow of data. To learn more about these settings, read more here: Overview: Exporting to Your Accounting System
If you are using Classes or Locations, you can set those now on this screen.
Lastly, you also have a few more options at the bottom:
- Attach photos when sending items. We find most people prefer to check this box.
- Adjust entries when using Close Books is something only applicable when you enable this feature.
- Fully-qualified account names is a box that when checked, helps us see all levels of Categories you have in your GL. It's helpful for us during set up to have this checked.
LAST STEP: CLICK SAVE!
More reading: How to Export to Accounting with QuickBooks Online, Intacct or Xero